It's kind of a personal question.
But OK, I'll confess.

I like mine baked.


Preferably Bubba's bacon**.

Lots of Bubba's bacon.
How do you like your eggs?
Mark's Baked Eggs with Caramelized Onions and Cream
These, from a guy who has perfected the art of brunch.
1-2 red onions, thinly sliced crosswise (so there are rings, like a tree trunk)
kosher salt
freshly ground black pepper
sugar
thyme
Butter
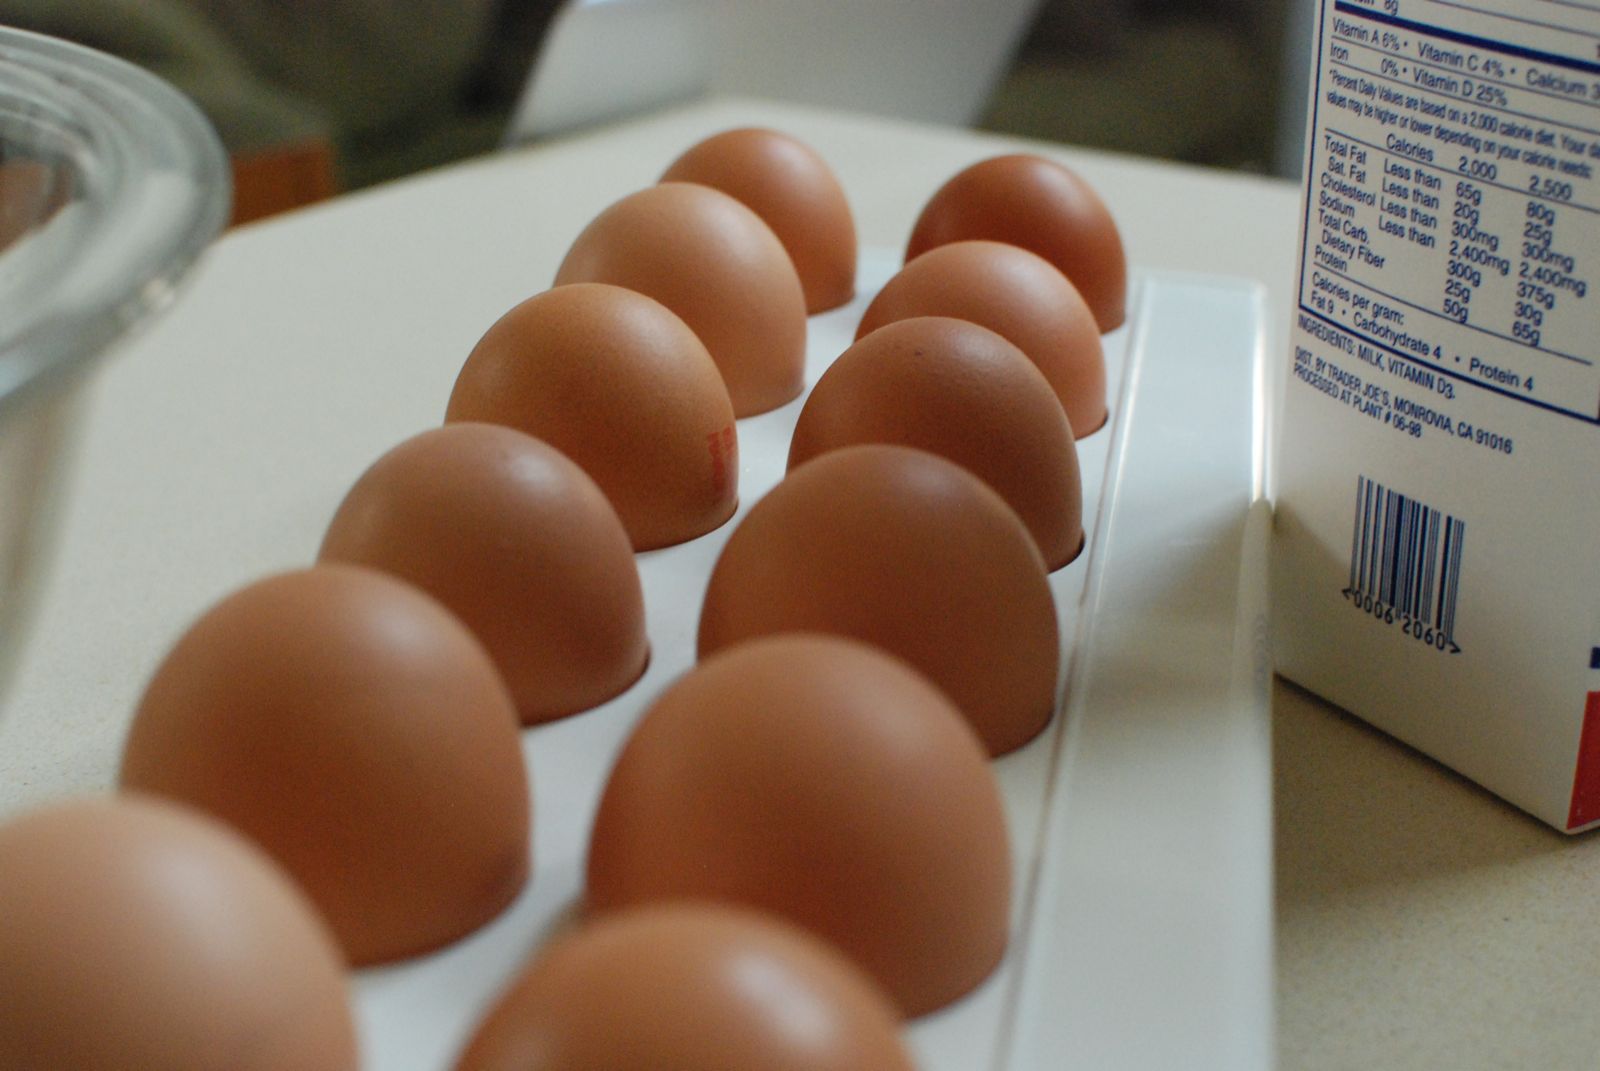
1 dozen eggs
1/2 pint heavy cream
generous amount of freshly grated Parmesan cheese
Heat the olive oil in a medium skillet, then add the onions and a generous sprinkling of salt, pepper, sugar and thyme. Cook slowly, stirring occasionally, over medium low heat until onions are completely soft, deeply golden brown and caramelized. Set aside.
Preheat oven to 350. Butter 12 muffin tins or small ramekins. Divide caramelized onions between the muffin tins. Pour a little heavy cream into each tin, enough to just barely cover the onions. Carefully crack an egg into each tin. Season with salt and freshly ground pepper, then finish with a portion of the grated Parmesan. Bake for 30 minutes, until set.

The lovely photos of Mark's eggs come courtesy of Lynn over at The Actor's Diet. I was too busy scarfing my eggs down to get any pics.
Oven Omelet
From my family's recipe trove (i.e. a scrap of paper I found in a box)
8 eggs
1 c. milk
8 oz (1/2 pkg.) bacon, cooked until crisp, and then crumbled
- and/or -
1/2 c. diced cooked ham, pancetta, sausage, or other tasty protein
1/4 c. chopped green onions
1 c. grated cheddar cheese, or other cheese of your choice
1 tsp. kosher salt
1 tsp. freshly ground pepper

Preheat oven to 350. Butter an 8 inch square or round deep sided baking dish. Beat eggs and milk together until light and fluffy, then add remaining ingredients. In addition to what's listed, you can add chopped mushrooms or other veggies, or try different types of cheeses. This is my tried and true blend, but go for it!
NOTE: You can use a larger dish if you are serving a group. Just increase the eggs and milk, using a ratio of 1/4 c. of milk for every 2 additional eggs. The omelet in the photo was made with 10 eggs and 1 1/4 c. of milk, and served 8 of us.
Pour mixture into the prepared baking dish. Bake uncovered for 40-45 minutes, until top is golden and dish is set. Serve immediately!

Click to print this recipe!
* And coffee cake. The one with the caramel sauce. If it's not too much trouble.
** Delivered to my door in dry ice, courtesy of the good people at BaconFreak (motto: Bacon is Meat Candy!), whose introductory Bacon of the Month Club membership has to have been one of the all time greatest gifts I have ever received in my life. I love you, Marie!


